Installing your Kubernetes homelab cluster in minutes with Ansible
Walkthrough for installing Kubernetes as a 1 control-plane and 3 worker node cluster using Ansible.
This is part 3 of a multi-part series where we continue building off of the previous parts. To catch up to where we are at check out the previous walkthroughs:
- Using VMWare ESXi 8 and vCenter 8 in your homelab for free - part 1
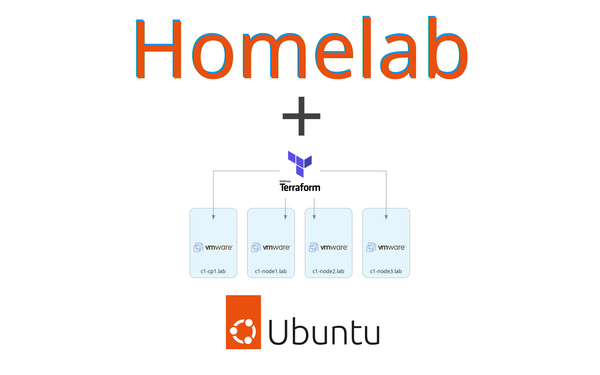
- Creating VMs for Kubernetes using Terraform and VMWare vSphere - part 2
The goal of this series
This series is for you if you are interested in making management of your homelab something more turn-key. It is also for you if you are looking for something to help get hands-on experience to move from hobby tinkering to tools used in the workplace for managing infrastructure like Kubernetes clusters.
The series is an end-to-end walkthrough from installing ESXi on bare metal up to having homelab tools (Jenkins, Kubernetes dashboard) running in a Kubernetes cluster using infrastructure as code practices to allow you to spin up and manage this whole setup through terraform and ansible.
The end-state Kubernetes cluster we will be creating will have some developer-focused tools deployed which will be described in more detail in part 4. All tools are deployed from code.
Series Notes
To keep this series managable, I will skip over basics of why and how to use tools like terraform and ansible - this series will jump right in using the tools. If you are coming without a basic understanding of those tools, I would suggest running through some tutorials. There are fantastic write ups for those elsewhere.
This is a walkthrough that is meant to be adapted to your network design and hardware. It is best suited for those that have a single homelab machine where ESXi will be installed directly on the hardware and a vCenter instance will be started up within the ESXi host. Also, it should go without needing to say it, but this is not production grade - things like valid tls certificates are not included.
This guide
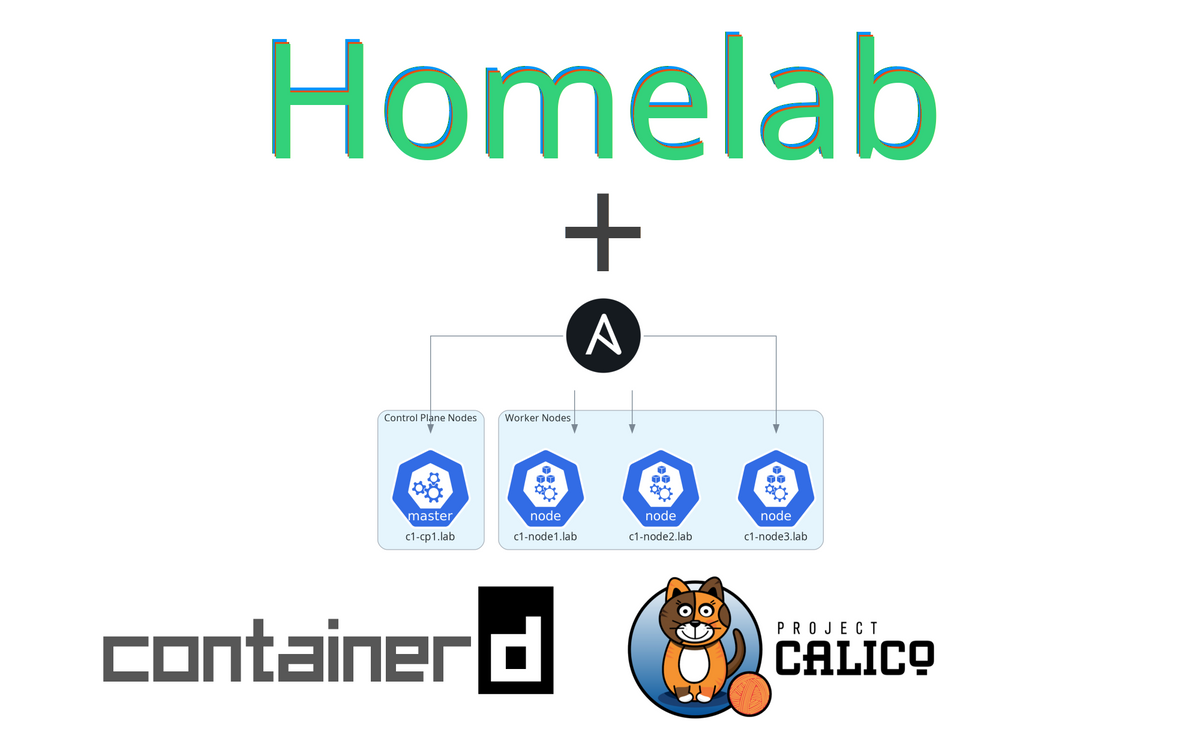
By the end of this guide, you will have a 3 worker node Kubernetes v1.26.1 cluster using containerd as our container runtime and Calico as our pod network.
Guide
- Get companion code
- The Ansible Playbook
- Prep for Ansible
- Install Kubernetes
- Verify Kubernetes
- Wrap Up
Get companion code
The code this guide uses is available at https://github.com/markperdue/kubernetes-ansible. Clone the companion code repo to have the best experience following along.
The Ansible Playbook
I have provided an ansible playbook that will install and configure our Kubernetes cluster. This is what the companion code repo mentioned before is.
The main configuration file that can be edited as needed is the inventory/group_vars/all.yaml file. If you have been following along with the series from part 1, no settings need to be changed in that file.
# inventory/group_vars/all.yaml
kube_version: "1.26.1"
group: "appowner"
container_runtime: containerd
network: calico
service_cidr: "10.96.0.0/12"
pod_network_cidr: "10.244.0.0/16"
control_plane_ip: "{{ hostvars[groups['control_planes'][0]]['ansible_default_ipv4'].address | default(groups['control_planes'][0]) }}"

kubeadm_opts: ""
init_opts: ""
This playbook is setup to separate things by the type of Kubernetes node to better scale our the cluster as needed.
In playbooks/common.yaml you will see what will run on every node regardless of the node type - a role called roles/common
- hosts: "control_planes, nodes"
  become: true
  roles:
    - roles/common
That roles/common reference will lead to Ansible running all the tasks outlined in roles/common/tasks/main.yaml where our common setup tasks are done like disabling swap, configuring containerd, using apt to install as well as mark a hold for kubelet, kubeadm, and kubectl to the specific Kubernetes version defined in the inventory/group_vars/all.yaml file and other things. I would recommend looking over the main.yaml files in each of the roles to get a good idea on what this playbook is doing.
The roles/control_planes role will using kubeadm init to setup our cluster while also doing some maintenance tasks like creating a .kube user directory with the Kubernetes generated admin.conf file loaded in. This role also installs the Calico pod network by applying the yaml mainifest file from https://docs.projectcalico.org/manifests/calico.yaml .
The entrypoint for the playbook is the file playbooks/k8s_all.yaml which consolidates all the things above into a single file.
Prep for Ansible
Ansible will be sshing into our nodes so we need to establish some trust between where ansible will be running and the nodes. We can use ssh-keyscan to gather the public ssh host keys of our hosts and append them to our known_hosts file.
ssh-keyscan -H -t rsa c1-cp1.lab >> ~/.ssh/known_hosts
ssh-keyscan -H -t rsa c1-node1.lab >> ~/.ssh/known_hosts
ssh-keyscan -H -t rsa c1-node2.lab >> ~/.ssh/known_hosts
ssh-keyscan -H -t rsa c1-node3.lab >> ~/.ssh/known_hosts
Install Kubernetes
Now we are ready to install our Kubernetes cluster.
- Open a terminal and navigate to the folder where the companion code was checked out to
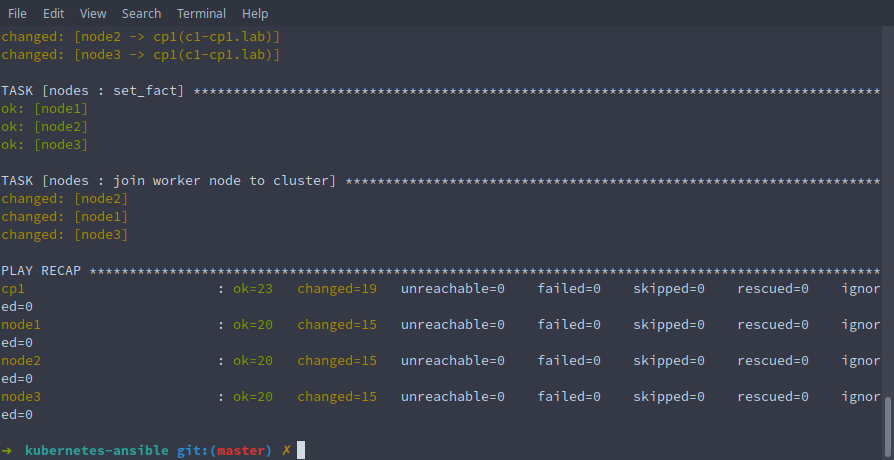
- Run
ansible-playbook -i inventory/dev playbooks/k8s_all.yaml --user appuser
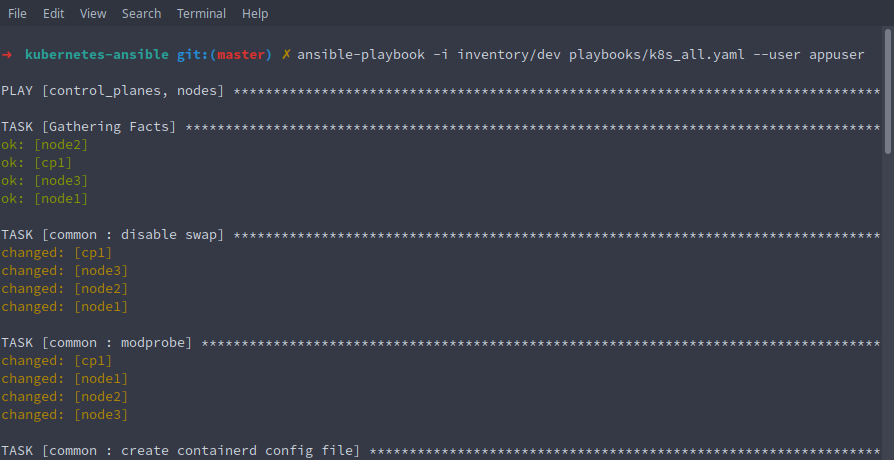
- The playbook should run through in a few minutes and... that's it! Our Kubernetes cluster should be installed
Verify Kubernetes
Let's take a look at our cluster by sshing into the control plane node c1-cp1.lab
- Type
ssh appuser@c1-cp1.lab$ ssh appuser@c1-cp1.lab Welcome to Ubuntu 22.04.1 LTS (GNU/Linux 5.15.0-60-generic x86_64) * Documentation: https://help.ubuntu.com * Management: https://landscape.canonical.com * Support: https://ubuntu.com/advantage System information as of Fri Feb 10 21:15:39 PST 2023 System load: 0.458984375 Processes: 201 Usage of /: 21.7% of 19.20GB Users logged in: 0 Memory usage: 25% IPv4 address for ens192: 192.168.2.21 Swap usage: 0% IPv4 address for tunl0: 10.244.13.192 * Introducing Expanded Security Maintenance for Applications. Receive updates to over 25,000 software packages with your Ubuntu Pro subscription. Free for personal use. https://ubuntu.com/pro Expanded Security Maintenance for Applications is not enabled. 0 updates can be applied immediately. Enable ESM Apps to receive additional future security updates. See https://ubuntu.com/esm or run: sudo pro status Last login: Fri Feb 10 21:15:15 2023 from 192.168.1.43 - Let's make sure our cluster consists of 4 nodes with a control-plane and 3 workers with
kubectl get nodesor take advantage of one of the ansible tasks in the playbook that created an alias tokubectlcalledk$ k get nodes NAME STATUS ROLES AGE VERSION c1-cp1 Ready control-plane 114s v1.26.1 c1-node1 Ready <none> 82s v1.26.1 c1-node2 Ready <none> 82s v1.26.1 c1-node3 Ready <none> 82s v1.26.1 - Check what pods are running in the cluster across all namespaces with
kubectl get pods -A$ k get pods -A NAMESPACE NAME READY STATUS RESTARTS AGE kube-system calico-kube-controllers-798cc86c47-xvl7p 1/1 Running 0 6m59s kube-system calico-node-ccfmv 1/1 Running 0 6m59s kube-system calico-node-txr9m 1/1 Running 0 6m45s kube-system calico-node-vjqwx 1/1 Running 0 6m45s kube-system calico-node-x85sh 1/1 Running 0 6m45s kube-system coredns-565d847f94-6h2n2 1/1 Running 0 6m59s kube-system coredns-565d847f94-9lt2c 1/1 Running 0 6m59s kube-system etcd-c1-cp1 1/1 Running 0 7m14s kube-system kube-apiserver-c1-cp1 1/1 Running 0 7m13s kube-system kube-controller-manager-c1-cp1 1/1 Running 0 7m14s kube-system kube-proxy-794zb 1/1 Running 0 6m45s kube-system kube-proxy-h26vt 1/1 Running 0 6m45s kube-system kube-proxy-mrwch 1/1 Running 0 6m59s kube-system kube-proxy-pzwrz 1/1 Running 0 6m45s kube-system kube-scheduler-c1-cp1 1/1 Running 0 7m15s
Wrap Up
And with that, we now have a Kubernetes cluster!
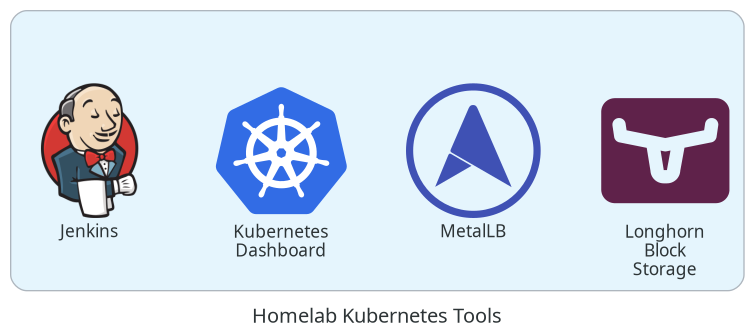
In the final guide, we will install tools into the cluster like Jenkins and a Kubernetes dashboard using Ansible. This includes having Jenkins spin up with a built-in pipeline that will deploy a sample go app to our cluster and expose the service using a load balancing tool called MetalLB amongst other things.
Continue on to part 4 - Installing Kubernetes Homelab Tools for Development and Deploying a Sample Application Using a Jenkins Pipeline